The Bezel - 06/20/2016
Back when I was I was centering this project around a tablet as my headunit I knew it was going to require expert fabrication to build a bezel with a factory fit and finish with the tablet being the focal point. Anyone who follows projects involving the grafting of a tablet into a dashboard knows that most of the time the end result is a compromise.
Enter the age of 3D printing
Years ago when key 3d printer patents started expiring and reprap printers really started taking off, I was paying attention, but I couldn't think of anything I could use one for seeing as most affordable options used pretty fragile polymers like PLA... That changed ~2 years ago when I started to realize that support for tougher materials like ABS and PETG may provide the means to fabricate the bezel in my head. I decided it was my best bet for success and took the plunge, buying a relatively inexpensive Folgertech 2020 i3 Prusa clone
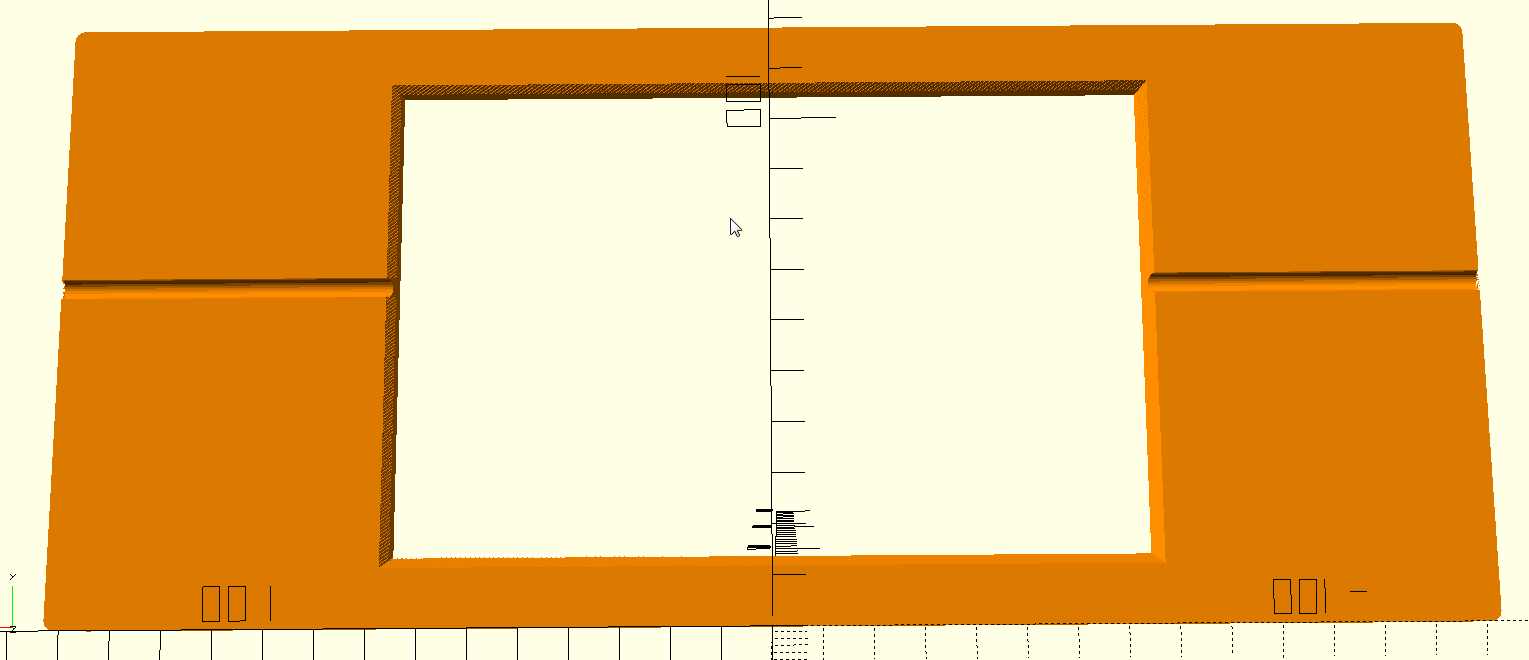
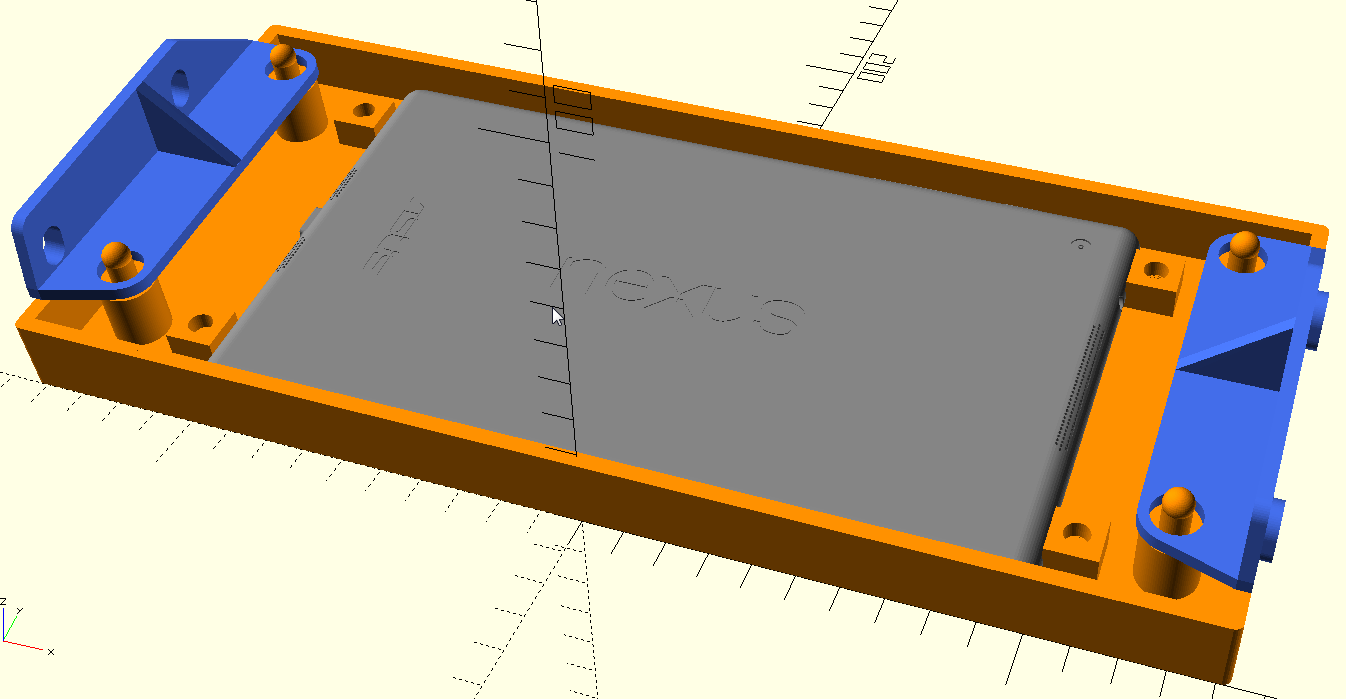
After building and calibrating the printer, I did a lot of reading. Through a lot of trial and error, and other small projects I finally felt like I had the tools to start designing the bezel, so I got busy in OpenSCAD.
I knew from the start that the bezel would be too large to print on my 200x200x140mm printer, so the plan was to print it in ABS pre-cut (by design) so that it would fit together like a puzzle. From there the pieces could be fused together with acetone to form 1 piece. While this worked, it was a frustrating process and I started to long for a larger format printer that I could print the bezel out in one go.
Enter the TronXY X5S-400. A 400x400x400mm Core-XY 3D printer built to extrude PETG.
Now, in 2022, The TronXY has been built and several mock up bezels have been printed, but as I mentioned before, this project has been simplified to use a prebuilt headunit by Joying. Even so, I am planning on leveraging the work I've put into the tablet bezel to build out a bezel to hold the screen of the Joying HU to hopefully give a more factory look.


