Tronxy X5S-400+
Built early in 2019 this large [at the time] core-xy printer was designed for big PETG prints utilizing an all-metal hotend and up to 1mm nozzles.
While researching larger printers the core-xy configuration stood out to me as an affordable option. Soon after, I settled on the Tronxy X5S-400 kit for around $400. However, I knew going into this that this kit would have to be heavily upgraded to meet my expectations. Specifically, the controller was junk, the bed heater was garbage, the belt geometry was bad, and the bowden extruder arrangement was not ideal for PETG extrusion. So yes, this kit was purchased mostly for its bones as it needed a ton of upgrades.
The following upgrade breakdowns include the purchased parts + the 3D printer parts to integrate them
- Extruder, Hotend, and Nozzles
- Control / Autoleveling
- Chassis
- Bed
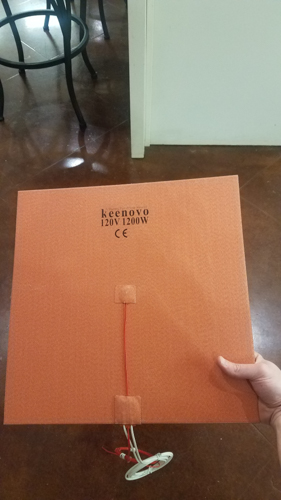
- Keenovo 120V / 1200W 400mm x 400mm silicone heater
- Watlow DIN-A-MITE DB10-24C0-S000 (industrial grade SSR that can be had for ~$60 used on eBay).
- Keenovo 120V / 1200W 400mm x 400mm silicone heater
While on the topic of the bed, it's a good place to start since it's one of the more unique mods.
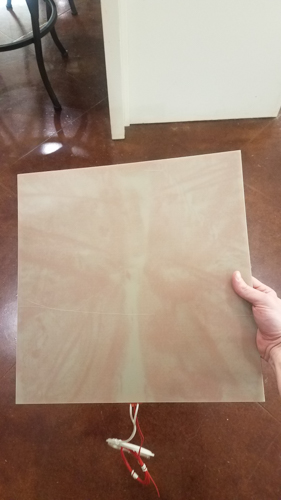
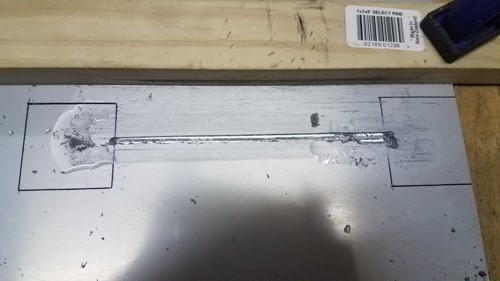
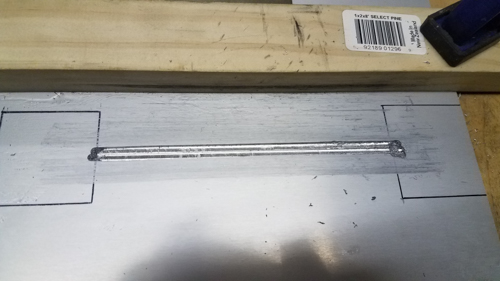
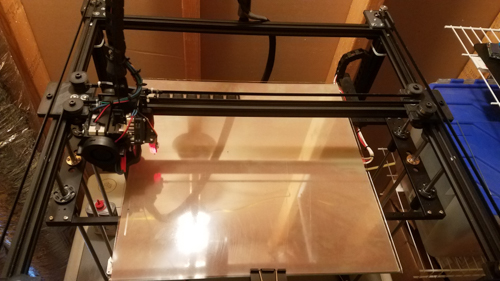
As mentioned above, I was set on getting a keenovo 1200W silicone mat heater to heat the bed. The only problem is that the silicone mat heaters are always tricky to mount to the print bed. Most print beds heaters are just PCBs with traces that actually serve as the heating element. With a PCBs, you can design the traces around your mounting options. With a silicone mat heater, you don't have that kind of flexibility as the mat isn't something you can trim. What I ended up doing is modifying the tronxy's aluminum bed support from the top side to allow the mat to lay down inside cut channels. The end result being a flatly mounted heater mat with the business end facing up. Afterwards, I sandwich the mat between the aluminum bed support and the included FR4 built plate. From there I actually use glass on top to print on.
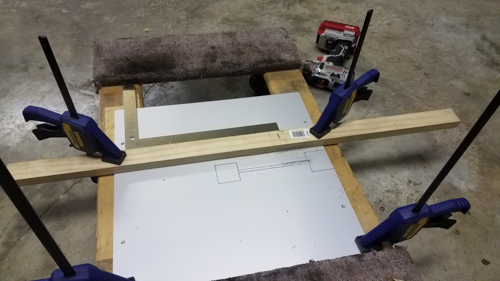
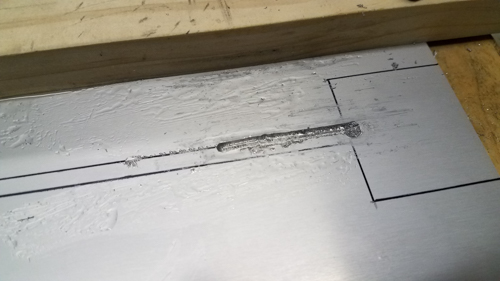
But... Back to the aluminum bed support. The modifications included two small cutouts to clear the mat's electronic junctions + a milled out channel for the thermocouple wiring. The milled out channel is what I'm most proud of since it required building a jig to use with my dremel + a milling bit. I figured it might be possible but when it came down to it, I wasn't sure if it would actually work. If did thankfully, and the heated bed works beautifully.
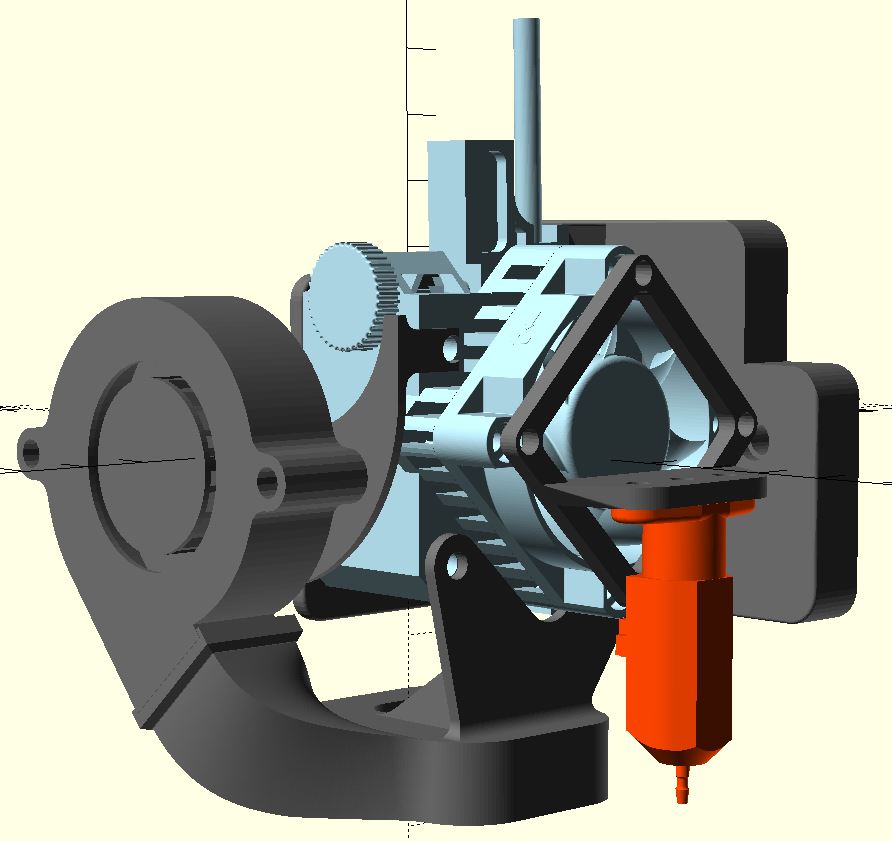
As for the hotend + extruder, here was the modeled look of everything I had planned fitted together.
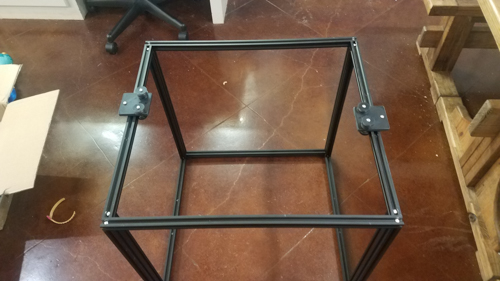
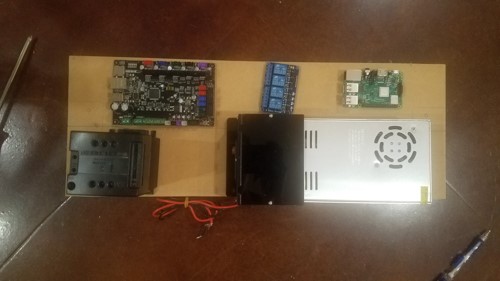
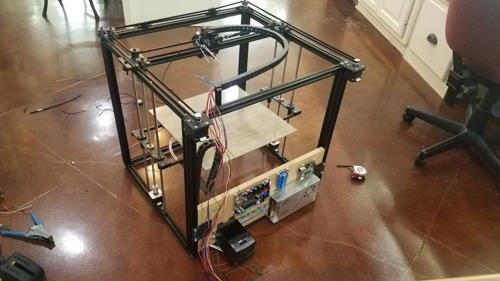
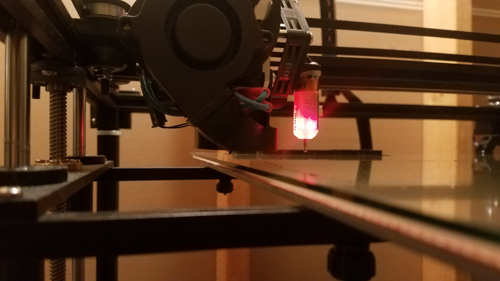
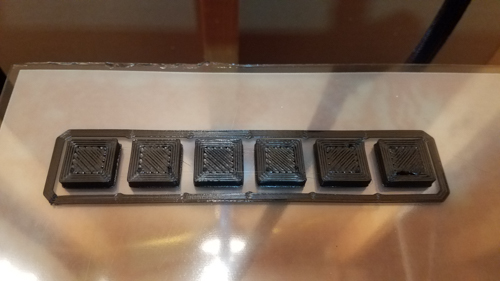
Since I had my Folger Tech RepRap 2020 Prusa i3 available, I was able to print all the upgrades in ABS and build printer in its upgraded form. Here are a few shots of the build:
As you can see above, The printer prints! However, a ton of work happened behind the scenes to make it happen.
The Smoothieware compatible MKSBase was a completely different control board than what came with this printer, so I had to start from scratch and configure this printer from the ground up. Additionally, I had a bltouch I wanted to utilize with mesh / grid bed leveling so I had to set that up in firmware from nothing as well. All-in-all I spent weeks learning the ins and outs of smoothieware (up to this point all my experience was with Marlin) and 40+ firmware revisions to get it working the way I wanted it to. Aside from that, I spent time getting octoprint setup + endless trials to help get my slicer (Simplify3D) config dialed in for a 1mm nozzle + PETG. I still have a ways to go, but was getting decent prints until I had to move in December of 2019. At that point the printer had to be put in storage until I could get back to it.
I'll leave you with a couple of videos:
TronXY X5S-400 doing a 25 point grid autolevel + wipe handled by a MKSBase + BLtouch Classic
My TronXY X5S-400 printing a car radio bezel out of PETG using a 1mm nozzle.
